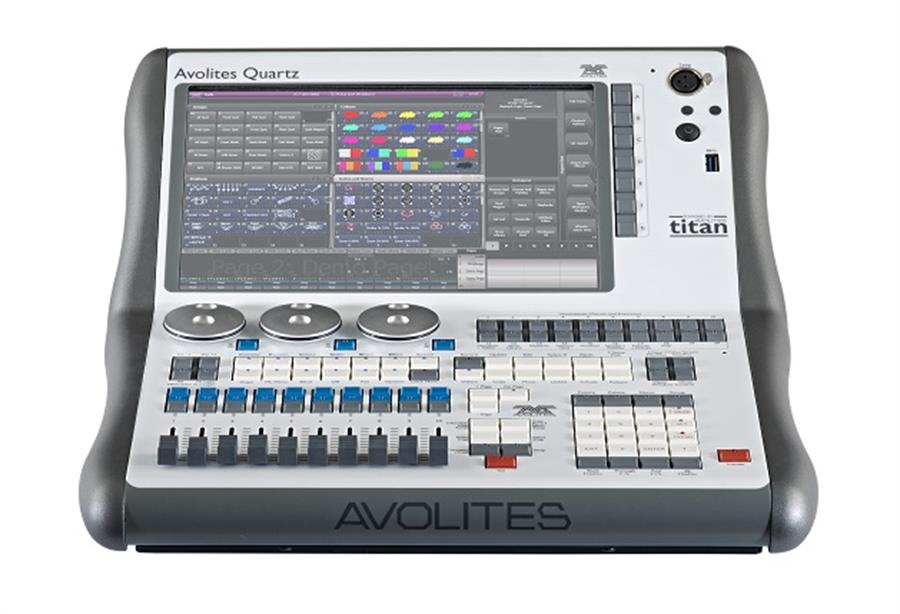
For this blog post we used an Avolites Quartz Desk and 2 of each of the following ‘Robe colorspot 250 at’ and ‘Robe colorwash 250 at’
This will be a basic run down of the steps we learnt though time was very limited in this session in terms of hands on experience with both the desk and the fixtures.
Please note the avolites desk uses touch screen technology so though i break it down into steps there are no buttons to press as such sometimes some typing.
These instructions are taken from the manual
Creating a New Show
- go to [Disk]
- then press [New Show]
- name it and hit [Ok].
Adding Fixtures
- Press Patch (one of the white function buttons above the numeric keypad).
- Press [Fixtures].
- Select the correct fixture manufacturer from the softkeys ([Previous] and [Next] page through the list of manufacturers). Or use Quick Search and type the first few letters of the manufacturer’s name on the keyboard to find the one you want.
- Select correct fixture from the softkeys (F and G show other pages). You can use Quick Search here as well.
- Select the correct fixture operating mode from the softkeys.
- [Address =] shows the first free DMX address. Type the new address on the numeric keypad if you want a different one. [DMX line=xx] lets you patch to a different DMX line, or you can enter the address as [line].[address], e.g. 2.45 would set address 45 on line 2.
- Press a Fixture Select button to patch the selected fixture.
- The onscreen Select button turns dark blue and shows fixture details when it is patched.
- Repeat from 7 to patch more of the same fixture type. The DMX address automatically updates so you can just keep patching by pressing Select buttons.
Selecting Fixtures
- Press Fixtures and Groups
- Press the Select buttons for the fixtures you want. The select button will light up pale blue for selected fixtures or on the preset playback faders the select button will light up (they are also shown in light blue on the HUD).
- To select a range of fixtures, slide your finger across the touch buttons to draw a selection box.
Lamp On
To lamp on your fixtures, select them and then press [ML Menu], and select the [Macros] option from this list. To turn on your fixtures, press [Locate]. This puts the fixture to a home position and default values, but puts no information into the programmer. To clear this information from the programmer, press [Clear] – this will put your fixtures to zero (provided there is no dimmer information for them coming from playbacks), but leave other values in their current state. For people who are used to [Clear] releasing the attributes and working with “@full” commands, if you right click the [Clear] button then Softkey D reads [Clear Options]. In this menu you can toggle Sofykey C between [Freeze Current Values] and [Release to Playback Values]. If you want to always put dimmer information into the programmer when you turn a fixture on, then press [@] twice to send the fixture to full.
Intensity (not from manual)
- Select fixture
- press ‘Intensity’ button
- Turn corresponding wheel to control
- Press record
- Press button above the fader you want to control the intensity.
- exit
Colour (not from manual)
- Select fixture
- Press Groups and Palettes
- Press attribute editor
- Choose colour
- Double click in colour box
Positon (not from manual)
- Select fixture
- Press Groups and Palettes
- Press position button
- Use the control wheels to position light
- Double click in position window
The manual speaks in general terms of attributes for the uses I’ve mentioned as ‘(not from manual)’ this is because they are accessed in a similar way. I will look at expanding on these at a later date.
