
In the box today introducing us to Sound Desk.
Power on procedure – Amp and Speakers.
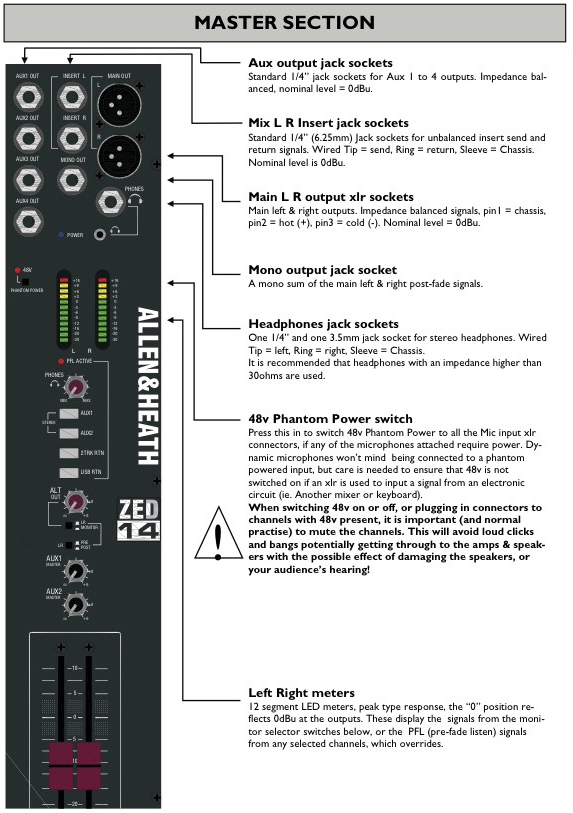
The mixer used in the box is a Allen and Heath ZED 24

Manual – ap6822_5zed14_18_24ug
Most inputs on the mixer are mono so to get a stereo output we need to put both left and right stereo channels into separate channels on the mixer. We would then use pan to pan them to their respective locations. This is also a useful technique in a live scenario with bands and vocalists as you can place the performers in the ‘sound space’ Mixer techniques. However there are a 4 stereo inputs on the Zed 24.


There is also an apple imac present in the control booth which is constantly wired up to the mixer via channels 1 & 2 of the mixer as shown in the photograph of he mixer above. To play back from here we would
- ensure all faders and gains are turned down on the mixer.
- turn on computer and begin playback.
- On the channels for the computer we would turn up the gain, using the meters on the master channel to ensure no clipping is occurring. We would also set the master fader to 0db.
Master Section Zed 24 - We can now start to bring up our mono channel faders till we can hear it.
- Alter Pan accordingly.

Qlab – uses and basic programming Manual
Using building blocks called “cues”, you can create sophisticated designs in seconds.
Getting started is as simple as dragging in a file and pressing “GO”. From there, add commands to fade volume, animate videos, or add audio and video effects.
Once you master the basics, become a power user with advanced features like scripting, video corner pinning, multi-projector edge blending, audio localization, or even building multi-computer designs by sending commands to other QLab machines on your local network.
Making Cues
Cues can be of many different types:
- Audio.
- Mic.
- Video.
- Camera.
- Titles.
- OSC.
- Midi.
- Midi Files.
- Timecode.
- Script.
For this part I will just be looking at audio cues.
- Fade
- Volume
- Stop
- Pause
The pause cue works just like the stop cue function, however if once the cue is triggered the sound cue will remain ‘active’. To continue to play the sound we would need to put a further audio cue and link this to our original audio cue.

- Connecting a mic (dynamic)
- To connect a dymamic mc we just use an xlr cable to one of the available mono channels.
- As it is Dynamic we do not need Phantom power.
- Then use the same process as playing back computer audio to achieve correct levels.
We also in this session looked at some basic on the lighting desk and designed a lighting plan.
